This year I have decided to have a “Golden Age of Queen Victoria” styled Christmas tree, since when else is more appropriate to go over-the-top than Christmas?
I’m going to use a mix of modern store bought ornaments along with the more traditional candles and feathers and paper ornaments. Paper ornaments were really common in the late ninetieth century. Originally made from newspaper scraps and magazine clippings, paper ornaments became more and more ornate to reflect the baroque influence on the Victorians.

It is so easy to make gorgeous authentic feeling replica ornaments nowadays since there is such a wide variety of scrapbook papers available. As part of this month’s create and share challenge, I thought I would show you how I made these simple folder paper fan medallions. With the addition of traditional ornate buttons and glitter they came out in perfect Victorian style.
Here are the seven other projects as part of this challenge, crafting in 10 minutes or less:
Casa Watkins Living DIY Wood Ornament Napkin Ring
Pocketful of Posies Turn Old Garland Into A New Wreath In A Flash
DIY Beautify 10 Minute Christmas Decorating Ideas
Flourish & Knot 10 minute Scandinavian Snowflakes
Creatively Homespun 5 minute DIY Holiday Candle Arrangement
Lehman Lane Quick Colorful Thanksgiving Table Setting
Kim Six Fix Victorian Paper Fan Medallion Ornaments
Vintage Romance Style 3 DIY Rustic Farmhouse Ornaments
Victorian Paper Fan Medallion Ornaments
Supplies:
12x12 Scrapbook PaperPaper Cutter
Scissors
White Glue
Paper Clips
Victorian Buttons (there are tons of choices on Amazon)
Glitter (Martha makes great glitter)

Step 1:
Cut a single 12x12 sheet of Scrapbook paper in half (so each piece is 6x12)
Step 2:
Stack the halves and accordion fold from short end. Folds should be about ½ inch wide. Stacking the paper insures that both sides of the medallion are even.
Step 3:
Crease along the center in the opposite directions of the original accordion folds, forming two “fans.”
Step 4:
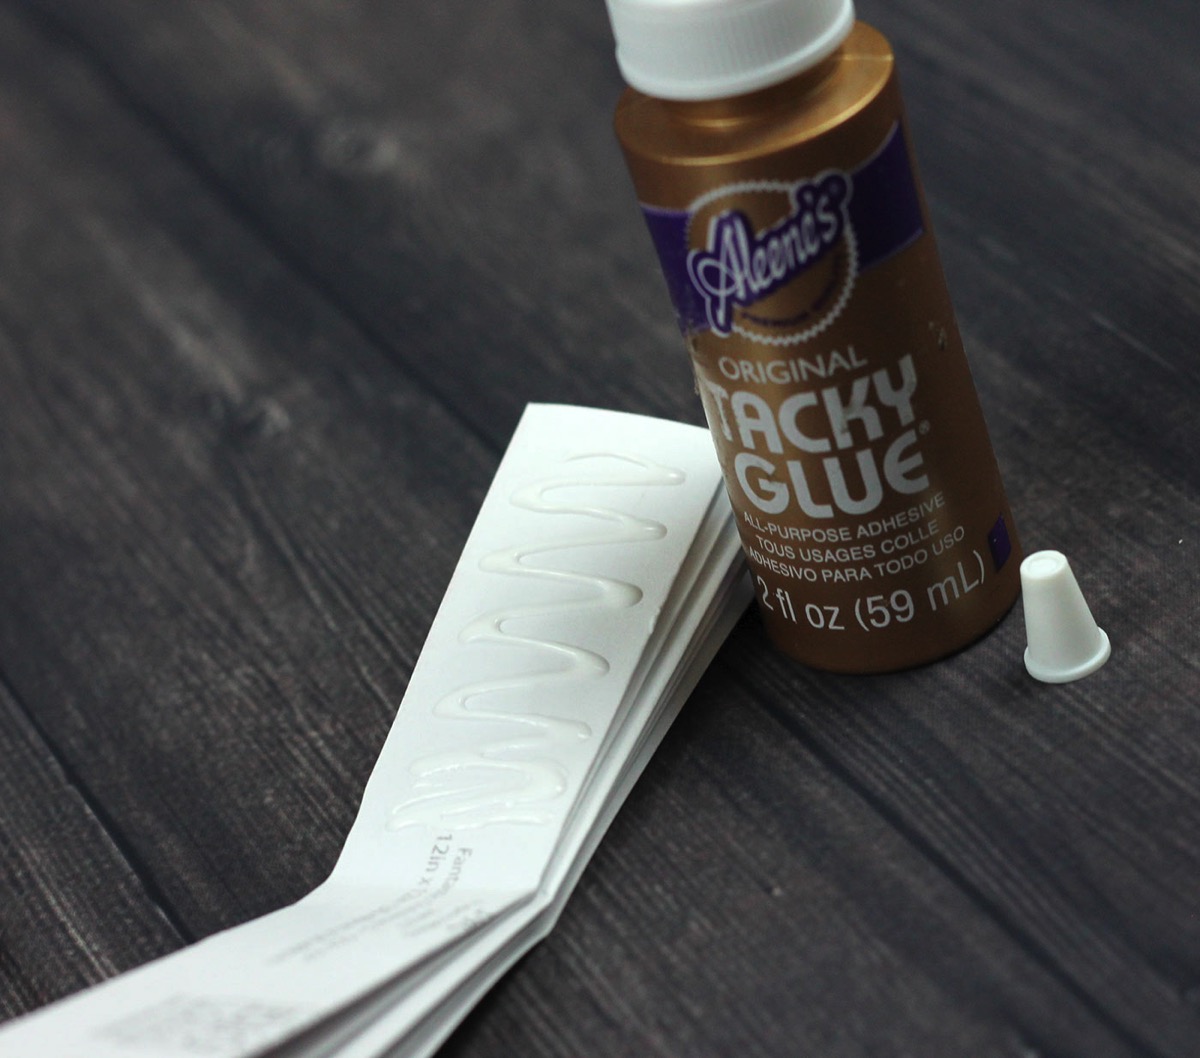
On one half of the inside fold, place a line of glue along the uncreased side and fold closed forming a fan.
You may need paper clips to hold the ends in place while it dries. Repeat with the other half of the paper.

Step 5 (Optional):
You can clip the ends of the fold into a curve or point or other shape to give you medallions a more polished look. You can also leave them uncut if you prefer.Step 6:
Glue the two fans together using the same technique of running a bead of glue on the uncreased (back) side of one fan and paper clipping both halves together.
Step 7:
Once the blue has dried add a bead of glue to the center of the front of the medallion and add a button or small trinket.
Step 8 (Optional):
Once the glue has dried, run a thin bead of glue around the outside edge of your medallion and sprinkle with glitter.
You want to do this only once your medallion is complete since doing it before the fan is held open will make it difficult to prevent the folds from folding down on each other (and on the glue.)

Now your gorgeous medallions are ready for the tree; the perfect traditional Victorian addition. You can completely change the look and feel of your ornaments with a different scrapbook paper selection. And inexpensive, easy and flexible craft that anyone can do. And in less than 10 minutes


