
It has been a while, and I am so happy to be back working on some fun builds in the garage! For my anniversary my husband got me a new router and so I wanted a really low pressure project where I could learn how to use it, but was also something functional.
I originally saw plans for a small work bench where the shelves doubled as steps in Family Handyman magazine, but it was really small and narrow. I redesigned the plans to make them wider since if I am going to have a table in the garage it needs to have a decent amount of space. It also makes it wide enough that you can flip up the top and use it to sit down on (since I often work directly on the garage floor, I like having somewhere to sit)
The other modification I made was to make the steps themselves wider so i could use them as storage or display space when I wasn’t using the bench. You can see how I am currently using it on my front patio with fall plants.

It is actually a really flexible piece of furniture. The original plans called for it to be unfinished, but I had some stain samples and I always have leftover paint lying around, so I finished it out. (Although that probably wasn’t necessary since it will live in my garage!)

Materials list:
(2) - 10' 1x3
4’ 1x6
6’ 1x8
(2) 3 1/2" Non-Mortise Hinges
1 1/4 inch wood screws
Also recommended:
Miter, chop or circular saw
Router and round-over bit (optional)
Wood Stain (I used Minwax Wipes in Mahogany)
Paint/Primer (I used Behr Premium Plus Exterior in Simply White)
Cut List:
4 - 1x3 @ 25” (legs)
6 - 1x3 @ 14” (side supports)
1 - 1x3 @ 22” (back support)
2 - 1x8 @ 25” (Hinged Top)
2 - 1x6 @ 22” (Steps)

Next I assembled the “ladders” that would become the legs and shelf supports, using wood screws.

 You want to make sure you are are getting the supports perfectly square (so you don’t have crooked steps) and a speed square is perfect for that!
 Next I connected the ladders with the steps**. I could’ve used pocket holes to hide the screws but this is a really utilitarian piece and I didn’t bother.
I did use my router to round the front of the steps before installing them. (I also rounded the outer edges of legs) This really isn’t necessary, but I created this project as an excuse to use my router!

In case you are wondering.. I actually got an extremely inexpensive router from Harbor Freight Tools but there are lots of inexpensive name brand options if you don't want to go that route. So far it has been wonderful. And the bits were from Ryobi.
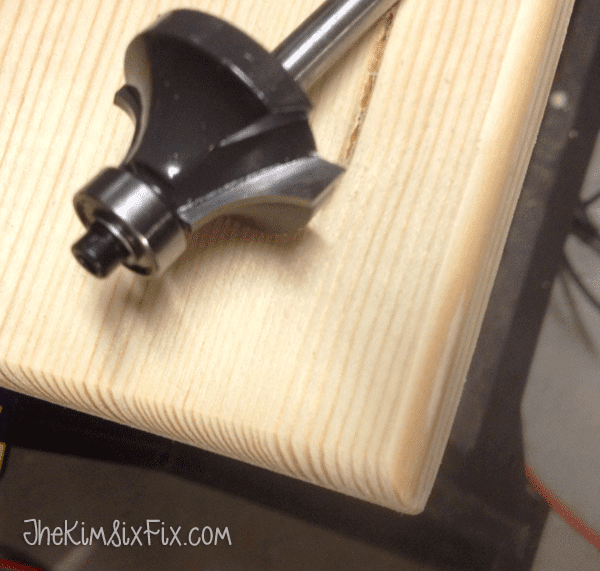
Here you can see how the outside of the legs are rounded over:

I also rounded over the edges of the three exterior edges of the top boards (the side which is hinged should NOT be rounded over!)
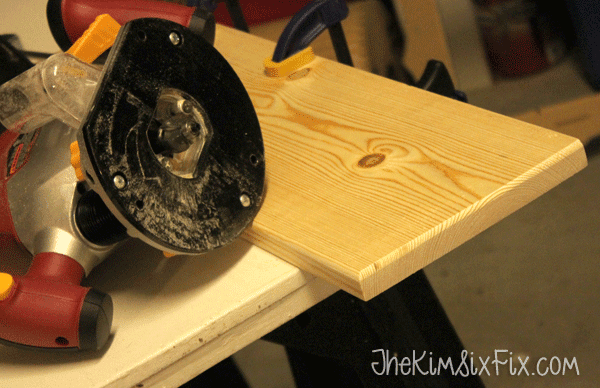
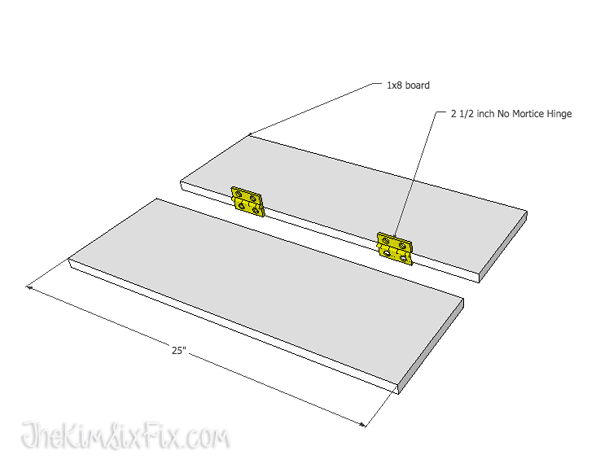
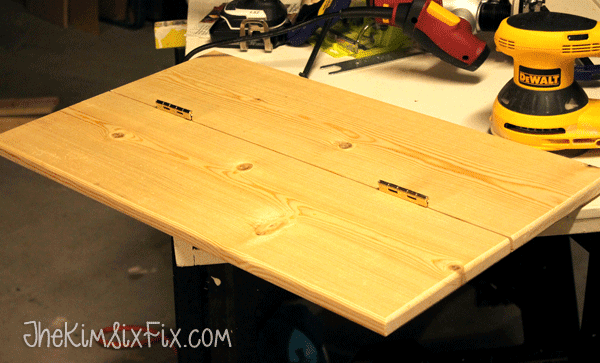
I used no mortice hinges to keep the gap on the top as small as possible**. Yes, I see the irony that I didn’t use my router to actually mortise the hinges, but I wasn’t THAT ambitious for my first project.

When installing the hinges make sure it flips UP.. I had trouble with that at first!

The top of the hinge will extend up above the table surface a little.. which is a bummer.
 At this point you are in the home stretch. You just need to add the top to the legs. It does have over hang on both the sides and front to back.
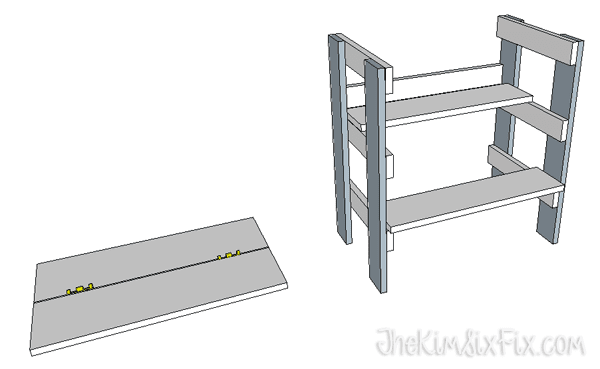
You can slide the top all the way to the front, so the bench can be pushed flat against the wall, or you can center the overhang, or you can push it all the way back (which gives you the most access to your lower shelves) it really is just personal preference:

 As for the finishing**. (And I didn’t do this right! Please see my note at the bottom of this post about different options for finishing your piece) I had a sample of these Minwax finishing wipes (which is actually a pretty cool concept!) They were dark Mahogany, a color I’d never use in my house, so I wanted to try them here.
  They come with gloves (which is good since otherwise you would be a mess) but they are much easier to use than regular stain. It would take quite a few to do a large piece, but for a project like this, they were great.
Next, to contrast the mahogony, I used some leftover exterior house paint I had from another project. I liked the idea of using outdoor since this would be in the garage and get a lot of wear and tear. Plus the built in primer saved me a step.

Like I said, this isn’t the right way of doing this**.. since after the stain I had to tape off the sections to paint.. Not ideal. If I had only wanted to paint it all one color, it would have been better.

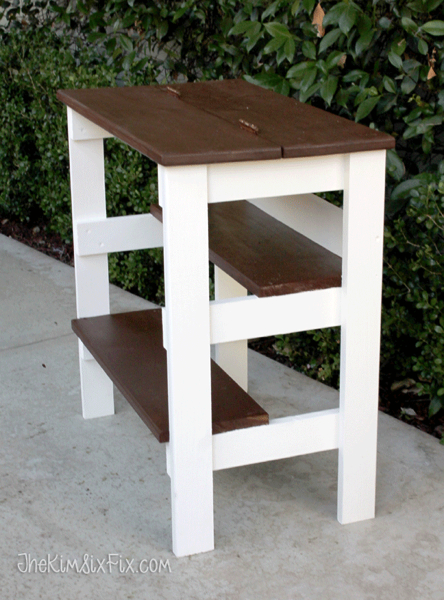
I did love how it came out. Again, I wouldn’t have chosen Mahogany in any other project, but for this it is great:
 A perfect little work bench to keep my supplies right at hand:

And with an easy flip-up I can reach all the stuff on the high shelves of my garage.

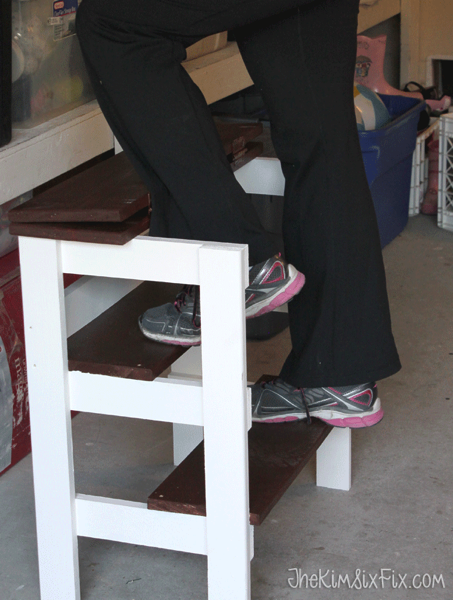
Plus now I’m madly in love with my new router! I can’t wait to see what else I can do with it!!
**IF YOU WANT TO PAINT STAIN THIS PROJECT LIKE I DID.. DON’T ASSEMBLE IT FIRST. Paint the individual pieces (the ladders, steps and two sides tops without hinges) and then assemble it. Otherwise you have to tape everything off and it is a pain! If you want it a solid color, it doesn’t matter as much.


