Supplies
- 12x12x0.25-inch cork tile
- Round template (I used a wide-mouthed mason jar lid)
- Pen
- Scissors
- 1/4-inch hole punch (or awl or screw punch)
- Embroidery floss
- Tapestry needle
- Fuzzy kitty tail (optional)
Directions
Trace and cut out a circle from a cork tile. The tile should not be less than 1/4-inch thick, otherwise it may tear as you work on your project. Be careful of kitty tails when cutting the cork!
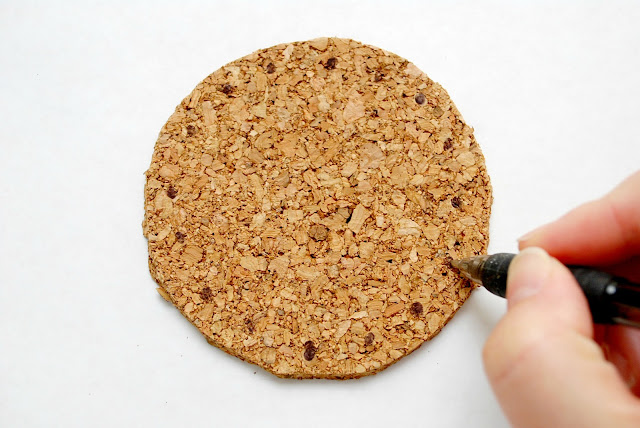
I am embroidering around the edge, so I marked evenly-spaced dots all around my cork circle, 1/4-inch from the edge, with a pen. You can do any simple design though; just map it out first on a piece of paper.
Carefully punch out holes with a 1/4-inch hole punch. An awl or screw punch would also work (just place a scrap piece of wood underneath to protect your work surface).
Thread a tapestry needle with an arm and a half's length of embroidery floss (yes I use very technical and precise measuring tools). Thread your floss through one of the holes and leave about a 2-inch tail. Continue stitching from back to front of the cork circle. To form the V shapes as I did in my project, make sure the floss overlaps the edge right in between the holes.
Once you go all the way around, start stitching in the opposite direction so the stitches form a V.
The stitches should form an X on the edge of the cork circle. Then, when you've stitched all the way around, your thread will probably be pointing in the opposite direction of the tail. You'll want both ends of the thread to be together without disrupting your V pattern. So just stitch over your stitches again until the two ends meet.
Once your ends are together, tie a knot and trim off the ends.
All done. Make a few more in different colors! Come up with your own designs and you can even make them for different holidays. You could also combine the embroidery with paint!
I found a pair of teak end tables at the thrift store and the wood is so pretty and was in great condition. But soon, condensation rings started to appear, so we were in dire need of coasters that wouldn't scratch the tables. I love how these turned out. They make me smile whenever I look at them!
Hope to see you over at my blog, The Silly Pearl, where I've been sharing projects for the home. Plus, I'll be posting this year's Valentine's Day projects very very soon. Thank you Kim for having me on the blog again today!


