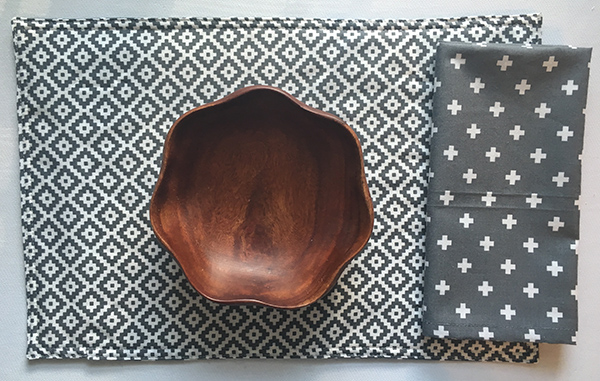
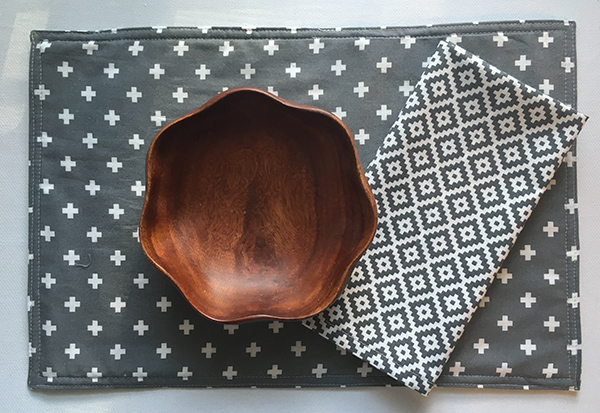
I have a small kitchen and limited storage space, so I love linens and gadgets that can do double duty. Reversible placemats are a great way to get multiple looks for your table without having to store stacks of placemats. I made these with two coordinating geometric prints in a soft grey fabric that can be used for everyday, but you could use seasonal fabrics or holiday prints to give yourself even more options for dressing up your table.
Cut four 12" x 17" rectangles from the fusible fleece and set these aside for now.
From each of the fabrics, cut four 13" x 18" rectangles for the placemats and two 18" x 18" squares for the napkins.
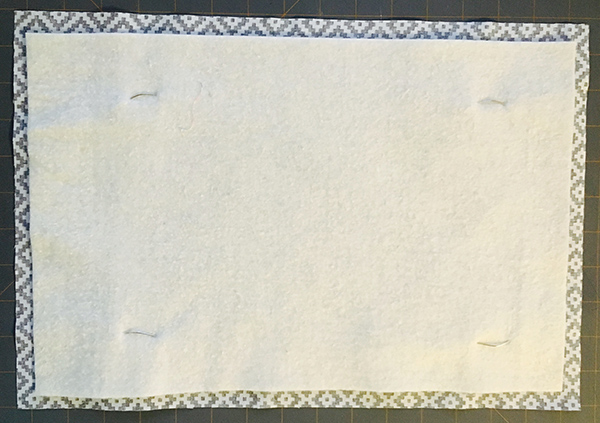
To assemble the placemats, center the fusible fleece on one set of the placemat rectangles, with the adhesive side of the fleece facing the wrong side of the fabric. The fabric should extend beyond the fleece 1/2" on all four sides.
Fuse the fleece in place. (You can see pins temporarily holding the fleece before I ironed it down in this photo.)
Layer the remaining placemat rectangles on top of the fused fabric pieces, with the right sides of the fabrics together. Pin in place.
Sew all the way around the placemat, just outside the edge of the fleece. (This well help reduce bulk in the seams of the finished placemats so they'll lay flat.) Leave a 4" opening on one long side of each placemat for turning.
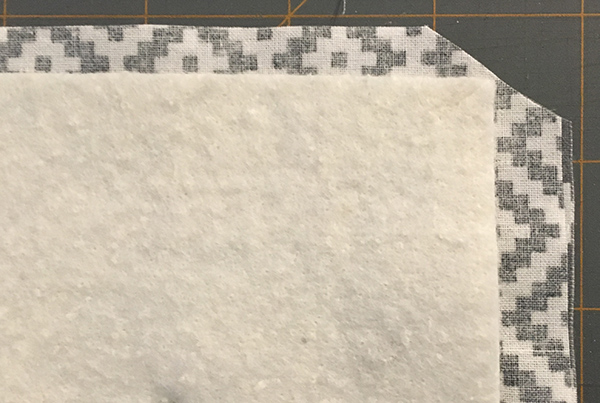
Trim the corners of the fabric diagonally, being careful not to clip the seam.
Turn the placemats right side out through the opening and use a chopstick or something similar to carefully push the corners out until they're square.
Press the placemats, turning the open edge to the inside.
Topstitch around the placemat with two rows of stitching, one 1/8" from the edge and one 3/8" from the edge, on all four sides. This will close up the opening you left for turning, and keep the fleece from shifting around over time.
For the napkins, turn under a 3/8" hem on all four sides of the four fabric squares and press. Turn under again to encase the raw edges and press again. You want to get a really good crease in the hem!
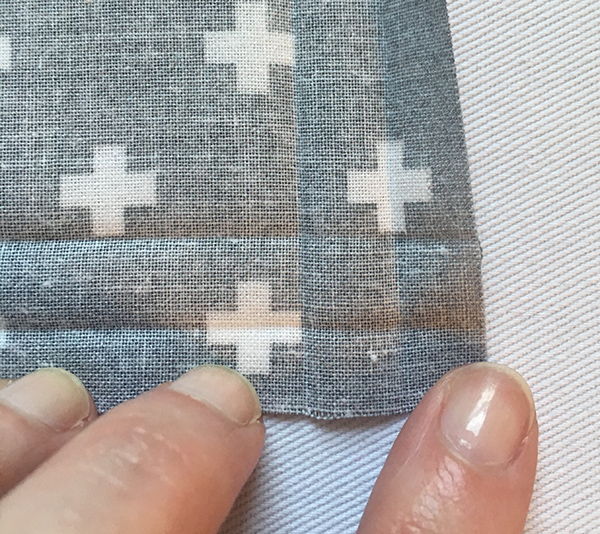
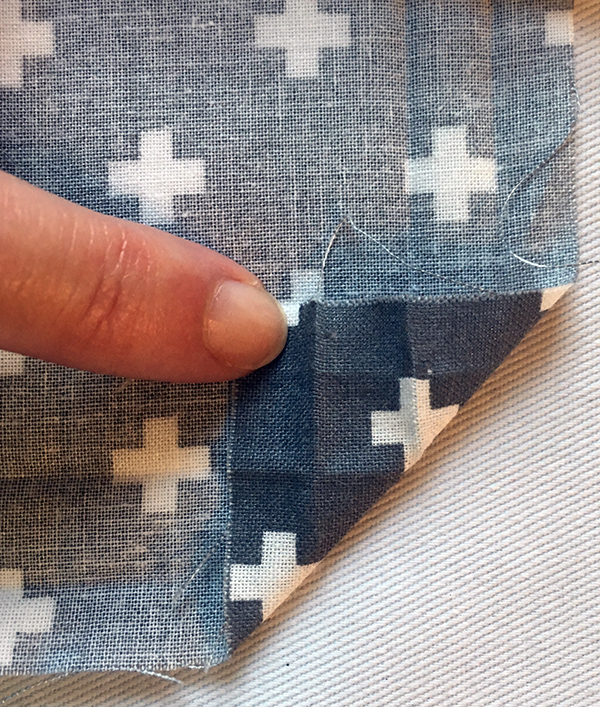
Open up the hem and fold the corners of each piece in, using the folded/pressed lines as a guide, until they look like this:
See how the fold lines on the corners match up with the fold lines for the hem?
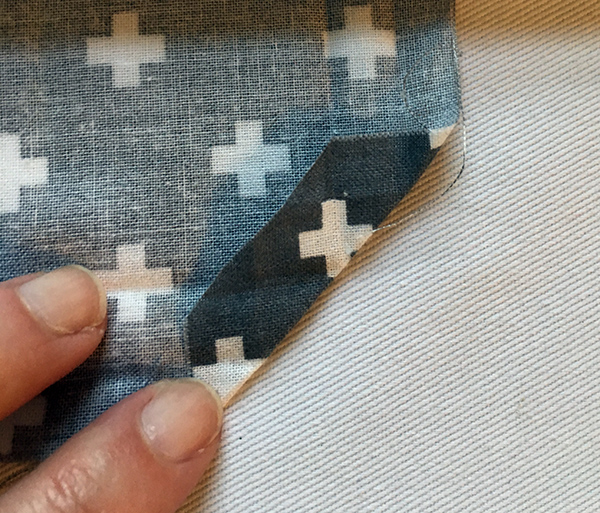
Now trim across the corner to remove the point:
With the corner still folded in, re-fold the hem across both pressed lines, encasing the raw edges of the corner inside to create a mitered corner.
Press the corners, then topstitch close to the folded edge of the napkins all the way around. Admire the lovely corners you just made.
That's it! Honestly, pressing the napkin hems and corners is the most time-consuming part of the whole project. The sewing part is a snap!


