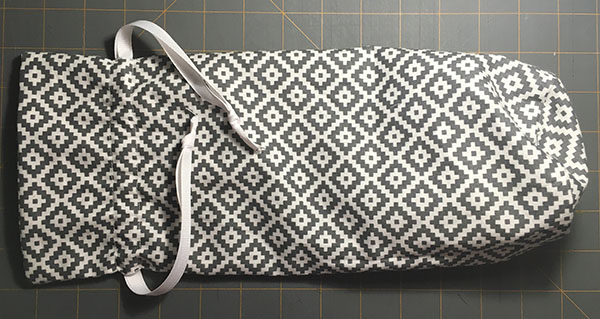
Hi everyone! It's Pam from Clever Little Mouse (formerly Leaves & Stitches - I'm halfway through a rebrand and have been up to my eyeballs in Wordpress edits for the past few weeks) with a quick tutorial for a wine bottle gift bag.
I'd love to say this project was inspired by a housewarming gift or some fancy occasion, but to be honest, the idea came to me while my son and I were struggling our way through his geometry homework recently. One of the problems dealt with the formula for finding the circumference of a circle when you already know the diameter, and a lightbulb went off. So THAT'S how you do that! I felt a little dumb. And then I had all kinds of ideas for projects now that I know how easy it is to figure out the dimensions, so off I went to test the formula.
To make a gift bag, you just need 1/2 yard of cotton fabric and one yard of 3/8" ribbon.
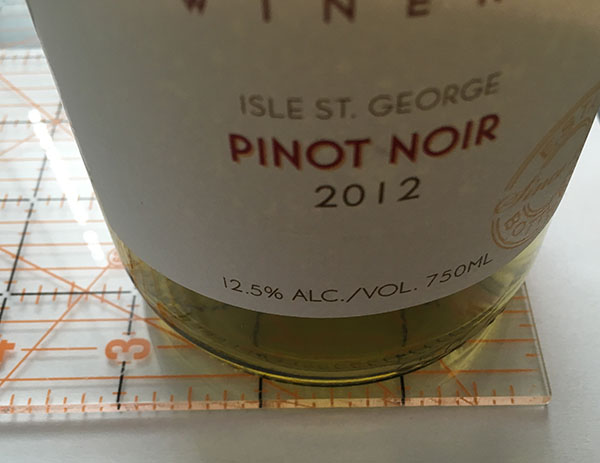
First, measure your wine bottle and decide how big around you want the finished bag. My bottle was 3" in diameter, and my finished bag measures 3-3/4" in diameter.
Draw a circle the size of your desired finished diameter, then add your seam allowance. Cut two circles from the cotton fabric.
Calculate the circumference of the circle by multiplying the desired finished diameter (NOT including the seam allowance) by 3.14. (In this example, 3.75" x 3.14 = 11.775".) Multiply your seam allowance by 2 and add it to the measurement you just calculated. (11.775+ (3/8" x 2) = 12.525".) This will be the width of the bag sides.
Now measure the height of your bottle and add 1", then multiply your seam allowance by 2 and add that measurement as well. My bottle was 12" tall, which brought the height of my side pieces to 13-3/4". Cut two pieces of cotton fabric using the height and width you just calculated.
No more math, I promise!
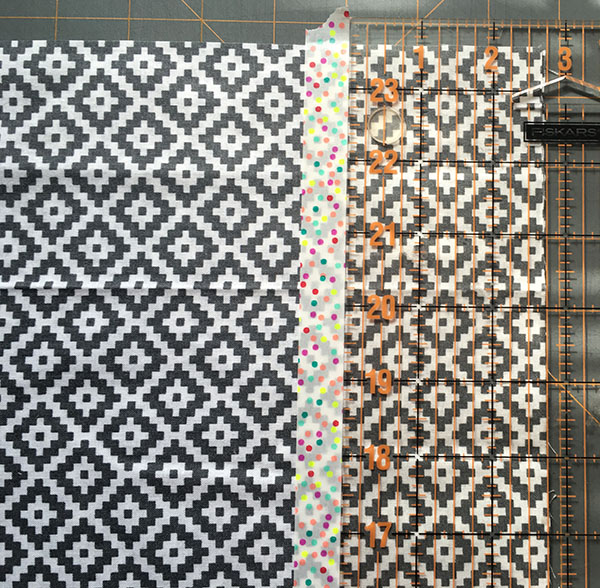
Lay one of the side pieces on your work surface, right side up, and measure down 2-3/4" from one of the top edges. Mark a line, then measure down another 1/2" and mark another line to indicate where you'll stitch to form the casing for the ribbon. Or take the easy way, like I did, and just use a piece of 1/2" wide washi tape.
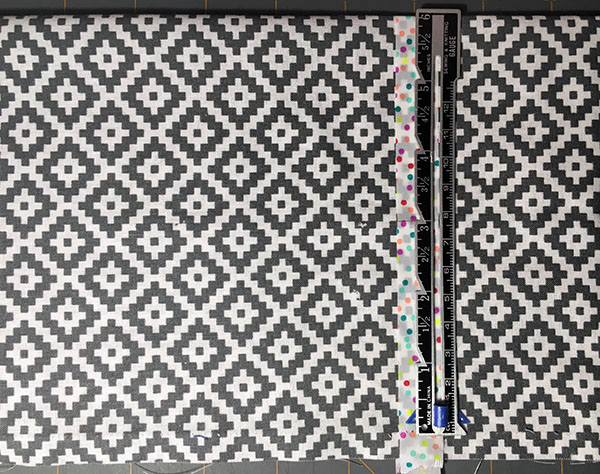
Fold the piece of fabric in half, wrong side facing and measure 3" from the folded edge on each side. Mark a line to indicate where your buttonholes should go. (I cut the tape and peeled it back a little for this step and the next one.)
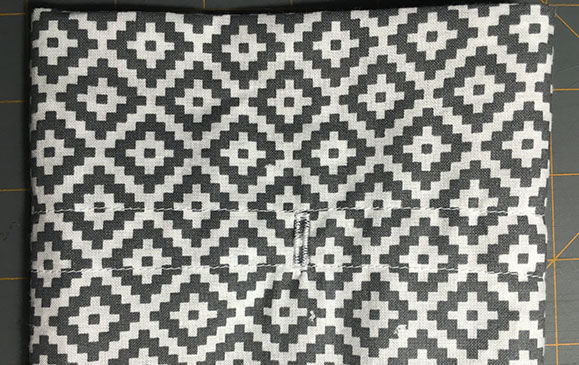
Make a 1/2" buttonhole on each line and carefully clip the fabric. Re-mark your casing lines or replace the washi tape if needed. The piece with the buttonholes will be the outside of the bag from this point forward, and the end with the buttonholes will be the top of the bag.
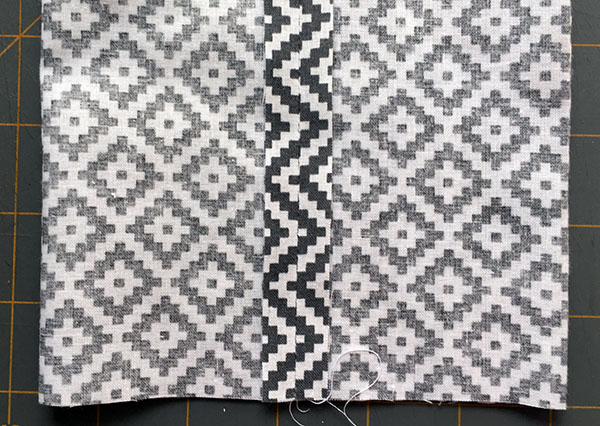
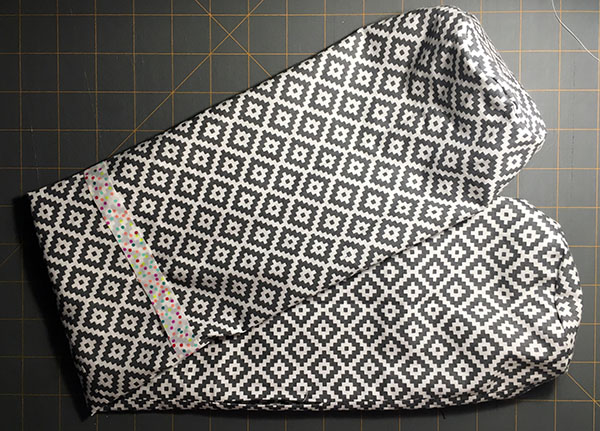
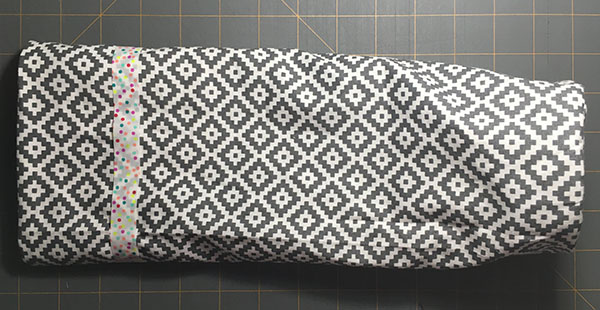
Lay the two side pieces of the bag together, right sides facing and stitch together along the top edge. Press the seam open and re-fold the pieces, right sides together as shown.
Stitch straight up the long side, leaving a 2"-3" opening in the seam on the lining piece so you can turn the finished bag right side out. (The opening is marked with pins in the photo below.)
With the fabric folded and the seam on one side, make a small mark at the fold to divide the tube in half. Open up the tube with the seam in the middle and make a small mark at each fold to divide the tube in quarters. Repeat on the other end of the tube.
Fold each of the two circles in half and mark the fold lines at the edges. Open up and re-fold, matching the marks you just made, and mark the new fold lines to divide the circle into quarters.
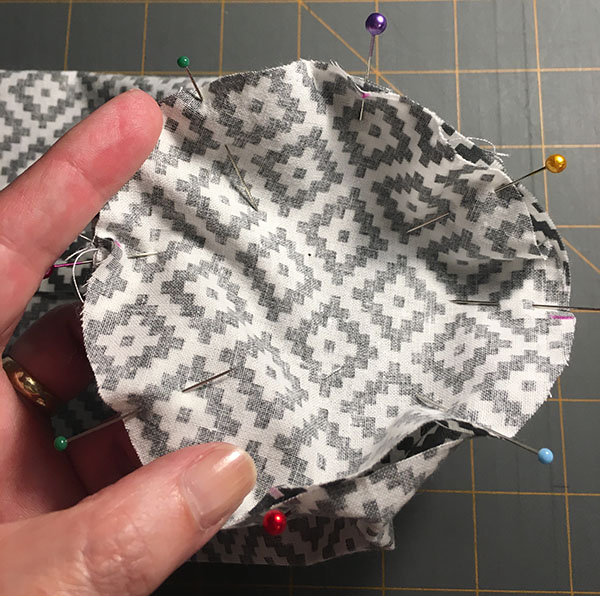
With the right sides facing, pin a circle to each end of the tube matching up the marks to evenly distribute the fabric around the circles. Stitch the circles to the tube ends all the way around.
Turn the tube right side out through the opening in the lining and hand stitch or machine stitch the opening closed.
Push the lining into the bag and press the top seam flat.
Stitch along both casing lines (or both edges of the washi tape), all the way around the bag.
The buttonholes you made earlier should be centered between the two casing lines.
Fold your ribbon in half and cut it into two equal pieces. Pin a safety pin to one end of the ribbon and thread it all the way around inside the casing, beginning and ending at the same button hole. Tie the ribbon in a knot.
Repeat for the other piece of ribbon, starting and ending at the other buttonhole, and tie the ribbon ends together.
Pop your bottle into the finished bag and pull the ribbons to close the bag. Your bottle's all dressed and ready for a party!


