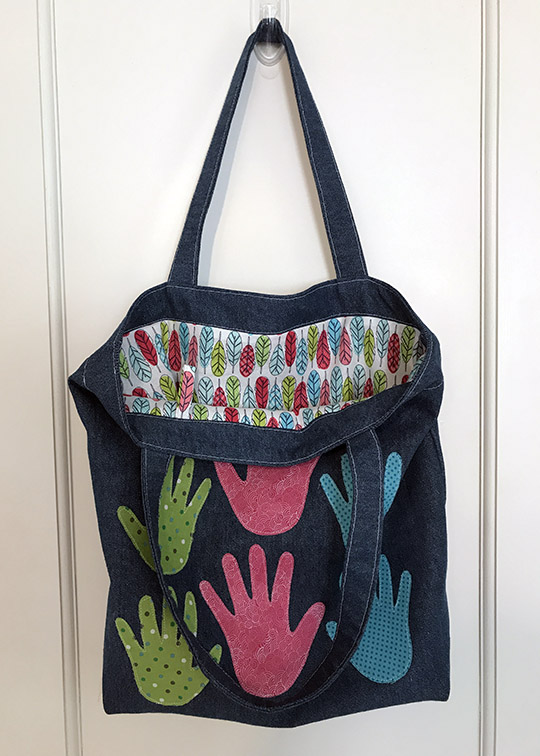
Hi everyone!
It's Pam from Clever Little Mouse and I have an awesome Mother's Day gift idea to share with you.
When my son was little, my favorite gifts and school art projects were the ones that were made with his handprints. He's a teenager now and those little chubby hands are bigger than mine these days, but I still have a few of those projects tucked away. If you have little ones - or know someone who does - this tote bag is a sweet way to capture a fleeting moment before they grow up. It happens so fast!
To make the tote bag, you'll need:
- 3/4 yard of denim or canvas for the outer bag and straps
- 1/2 yard of cotton fabric for the lining
- Coordinating fabric scraps for the handprings
- Pellon EZ-Steam or similar two-sided iron-on fabric adhesive
Cut the denim or canvas into the following pieces:
- Two 16" x 16" squares for the bag body
- Two 24" x 4" strips for the straps
- Two 2-1/2" x 16" strips for the lining band
Cut the following pieces from the lining fabric:
- Two 14-1/2" x 16" rectangles for the lining
- One 1-1/2" x 5" strip for the key loop
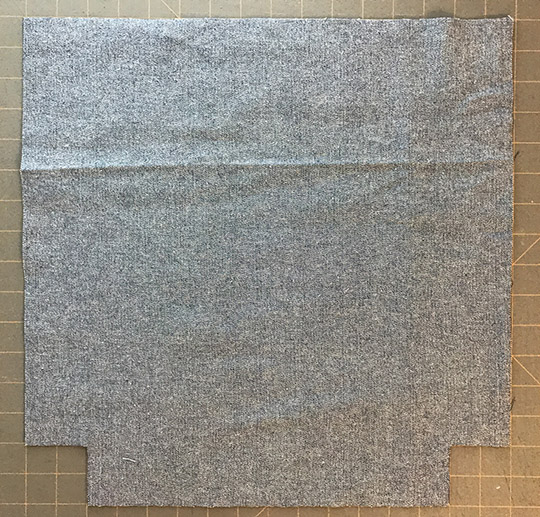
Lay out the two bag body pieces on your work table and cut a 2" x 2" square from two adjacent corners in each piece.
Like this:
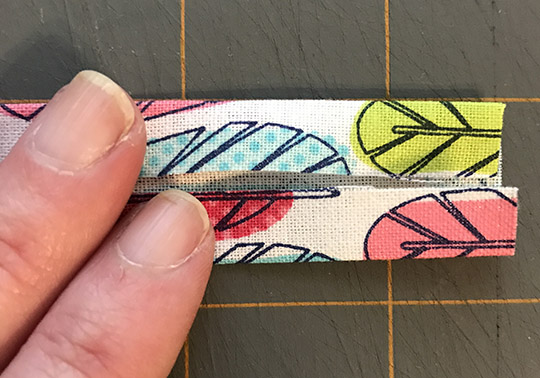
Fold the key loop strip in half with the wrong sides together and the long edges matching. Press to create a center crease. Open the piece up and fold both raw edges in to meet at the crease.
Fold the strip back in half to encase the raw edges and topstitch along the long edges, close to the edge.
Fold the strip in half and pin it to one of the lining pieces about 5" from the edge, with the raw edges of the strip at the top.
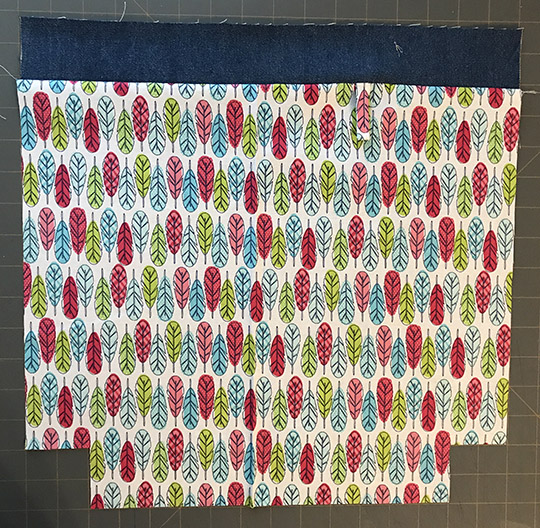
Lay a lining band strip on top, right sides together, and sew them together with a 1/2" seam. Sew the other lining band and lining piece together the same way, and press the seams.
Cut 2" x 2" squares from the bottom corners of each lining piece.
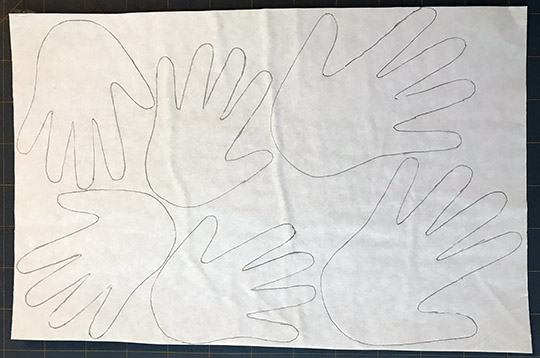
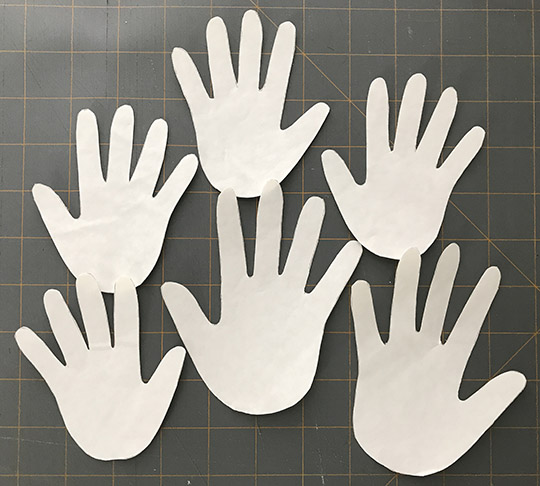
Trace the kids' handprints onto a sheet of the EZ-Steam. Got squirmy kids? Just trace one hand on plain paper and cut it out. Trace around it once, then flip it over and trace the other side to get a reverse handprint.
Cut the handprints out and temporarily apply the EZ-Steam to the back of your fabric scraps,
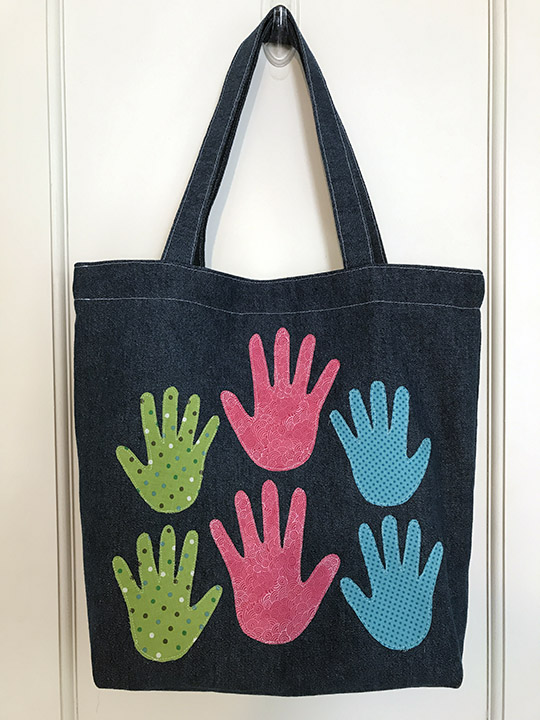
Cut out the handprints, and decide how you want to arrange them. I experimented with a couple layouts before I came up with one I liked:
Iron the handprints into shape according to the manufacturer's instructions.
Since Mama-hood gets messy and your totebag will probably need to be washed at some point, topstitch around the hanprints to make them more durable.
Set the bag body pieces aside for now. It's time to make the straps!
Fold and press the straps the same way you did the key loop - Fold in half, wrong sides together and long edges together. Press a crease, fold the raw edges in and press again, then fold the straps back in half and press one last time.
Topstitch both straps along the long edges, about 1/8" from the edge.
Lay the bag body pieces on your work table right side up. Measure over 4" from each side and pin the straps in place.
Layer the lining pieces on top, right sides facing, with the straps sandwiched in between. Sew along the top edge with a 1/2" seam.
Press the seams.
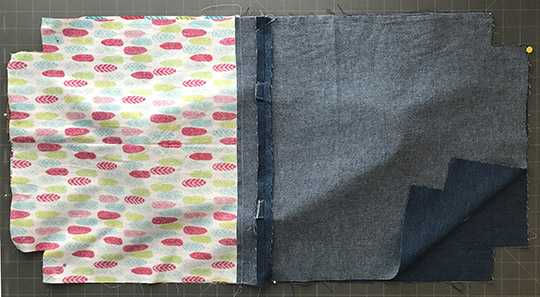
Layer the two pieces together, right sides facing. Make sure the lining pieces are together on one side, and the outer pieces are together on the other with the straps pushed to the middl where they'll be out of the way.
Sew the side seams and the bottom seam on the outer bag side. On the lining side, sew the pieces together but leave about a 4" opening in the middle so you can turn the bag right side out. Don't turn it yet! First you need to box the corners.
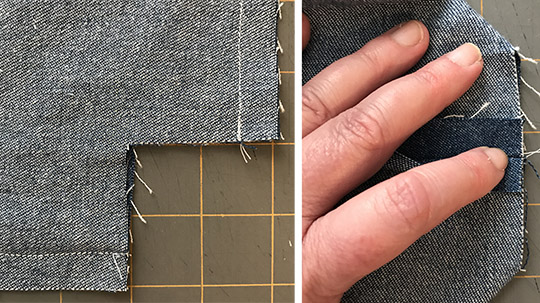
Pull the bag pieces apart slightly until you can match up the bottom seam and side seam of each corner. Pin in place and sew across the corner, 1/2" from the edge.
Now turn the bag right side out and stitch the hole in the lining shut, either by hand or on your sewing machine. Tuck the lining down into the bag and press the top edge seam.
Topstitch around the bag about 1/8" from the edge, then again about 1" below the first line of stitching.
All done! I am in love with this little bag. Honestly, it might be my favorite tutorial ever!
Wishing all you Mama's, grandma's, awesome aunties and honorary Moms a wonderful Mother's Day! Give your little ones an extra squeeze this weekend. They'll be teenagers before you know it!


